Have you ever wondered about the resilience of the glassware in your laboratory? Or perhaps, why certain glass instruments can withstand more pressure than others? The key to these questions lies in understanding the hardness of glass instruments.
Hardness in glass instruments is a crucial physical property that denotes their ability to resist deformation and scratches from other objects. This characteristic determines their durability and suitability for various scientific applications. Knowing about the hardness of glass can help you choose the right equipment for your needs and ensure their longevity.
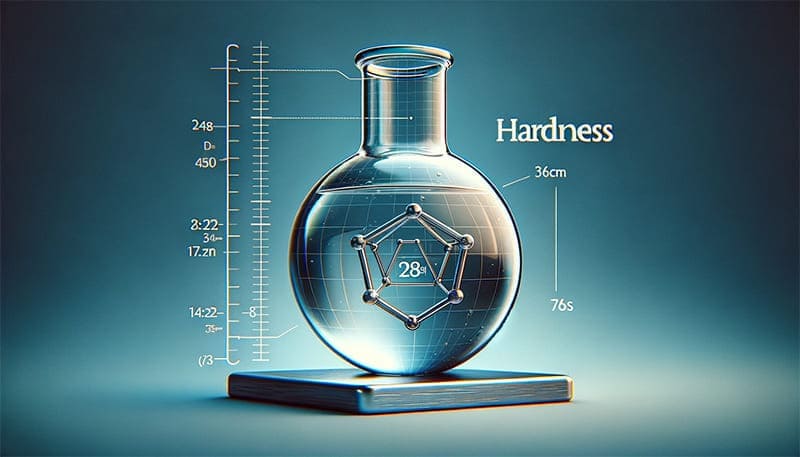
What is Hardness in Glass Instruments?
Glass instruments’ hardness refers to their ability to resist pressure from another object. This property is not just about resistance to breaking; it’s also about the ability to resist scratches and indentation. The harder the glass, the less prone it is to surface damage.
Expanded Insights on Practical Applications and Implications of Glass Hardness
Understanding the hardness of glass instruments is not just a matter of technical interest but has profound practical implications in various scientific and industrial fields. The hardness of glass determines its suitability for different applications, especially in sensitive and demanding environments such as pharmaceuticals, chemical engineering, and materials science.
Pharmaceutical Industry
In the pharmaceutical industry, glassware is frequently used for both research and production. Harder glass is often preferred for its resistance to scratches and breakage, which is crucial in maintaining a sterile environment. For instance, borosilicate glass, known for its high hardness and thermal resistance, is commonly used for making vials, beakers, and other containers that need to withstand high temperatures during sterilization processes.
Chemical Engineering
Chemical engineering involves the handling of a wide range of chemicals, some of which are highly corrosive or abrasive. Glass instruments with higher hardness levels are preferred in these settings because they are less likely to get scratched or etched by these substances. This resistance is crucial for maintaining the purity of the chemicals and preventing contamination.
Materials Science
In materials science, where precision and accuracy are paramount, the hardness of glass instruments is a critical factor. Harder glass tends to have less deformation under stress, making it ideal for precise measurements and experiments. It’s especially important in the development of new materials where the slightest impurity or variation can skew results.
Environmental and Safety Considerations
Harder glassware is generally more durable, reducing the frequency of replacements and, consequently, the environmental footprint. Moreover, the increased resistance to breakage enhances safety in labs, reducing the risk of injuries and spills, which is particularly important when handling hazardous substances.
Handling Abrasive Substances
In environments where abrasive substances are handled, such as in mineral processing or certain types of material analysis, the hardness of glass instruments is crucial. Harder glass can resist being scratched or worn away by these substances, ensuring the longevity of the glassware and the accuracy of the experiments.
Temperature and Pressure Applications
Glass instruments of higher hardness are better suited to withstand high temperatures and pressures. This makes them ideal for experiments involving extreme conditions, such as high-pressure reactions or thermal stress testing.
Custom Applications
In some specialized fields, custom-made glass instruments are required. The hardness of the glass used in these custom pieces will depend on their intended use. For example, glass used in optical applications may prioritize hardness to a lesser degree than chemical resistance or clarity.
The choice of glassware based on its hardness has far-reaching implications in the scientific and industrial world. Selecting the right type of glass for specific applications not only improves the efficiency and accuracy of the work but also contributes to the overall safety and sustainability of the operations. As such, an understanding of glass hardness is a fundamental aspect of equipment selection and usage in these critical fields.
Specific Hardness Standards for Laboratory Glass Instruments
When it comes to laboratory glassware, understanding specific hardness standards is crucial for selecting the right instruments for various experiments and processes. These standards provide a guideline for the durability and resistance of glassware to mechanical and chemical stresses. Here, we’ll explore some of the common hardness standards applied to laboratory glass instruments.
Borosilicate Glass
Borosilicate glass, often used in laboratory settings, is renowned for its high hardness and thermal resistance. It typically falls between 6 and 7 on the Mohs hardness scale. This level of hardness makes it resistant to scratches and thermal shock, ideal for repeated sterilization and high-temperature applications.
Soda-Lime Glass
Soda-lime glass, another common type of laboratory glassware, has a Mohs hardness of around 5.5. While it is less hard and less thermally resistant than borosilicate glass, it is often more cost-effective and sufficiently durable for many standard laboratory applications.
Quartz Glass
Quartz glass, used for specialized applications, particularly in optical experiments, has a Mohs hardness of around 7. This high level of hardness, combined with its excellent optical clarity and resistance to high temperatures, makes it ideal for precise optical measurements and experiments involving intense light sources.
Lead Glass
Lead glass, known for its high refractive index, has a slightly lower hardness compared to borosilicate and quartz glass, typically around 5 on the Mohs scale. This makes it less scratch-resistant but valuable in applications where optical properties, such as light dispersion, are critical.
Winson Glass
Winson Glass, a distinguished name in scientific glassware, are notable for their impressive hardness and adaptability to various laboratory needs. These instruments are characterized by a Mohs hardness level ranging between 6 to 7, similar to other high-quality borosilicate glass products.
Understanding the varied demands of different scientific disciplines, Winson provides the unique option to customize the hardness of its glassware. This allows laboratories to select glass instruments that are precisely suited to their specific experimental conditions, ranging from standard educational use to advanced scientific research.
Duran® Glass
Duran® glass, a specific brand of borosilicate glass, maintains a hardness level similar to general borosilicate glass, around 6 to 7 on the Mohs scale. Its consistent quality and resistance to chemical and thermal stress make it a preferred choice for many laboratories.
Pyrex® Glass
Pyrex® glass, another popular brand of borosilicate glass, also scores around 6 to 7 on the Mohs hardness scale. It’s widely used in both educational and professional laboratories due to its durability and resistance to thermal shock.
Vycor® Glass
Vycor® glass, known for its extreme thermal and chemical stability, has a Mohs hardness of about 5. Despite its lower hardness rating, it is highly valued for its excellent thermal shock resistance and is often used in high-temperature applications.
The hardness of laboratory glass instruments is a key factor in their selection and use. Different types of glass offer varying levels of hardness, which correspond to their resistance to mechanical and thermal stresses. By understanding these standards, laboratory personnel can choose the most appropriate glassware for their specific needs, ensuring both the safety and accuracy of their experiments.

Factors Affecting the Hardness of Glass Instruments
Understanding the factors that affect the hardness of glass instruments is crucial for selecting the right type of glassware for specific laboratory and industrial applications. Hardness, an essential attribute of glass, determines its resistance to scratches, breakage, and deformation under various conditions. This article explores the key factors that influence the hardness of glass instruments.
1. Composition of Glass
The chemical composition of glass plays a pivotal role in determining its hardness. Different types of glass have varying compositions, which directly impact their physical properties:
- Borosilicate Glass: Known for its exceptional hardness, borosilicate glass contains boron trioxide and silica. This composition gives it a higher resistance to thermal shock and chemical corrosion than other types of glass. It typically falls between 6 and 7 on the Mohs hardness scale, making it ideal for high-stress applications.
- Soda-Lime Glass: This is the most common type of glass, made primarily from sodium carbonate (soda), lime (calcium oxide), and silica (sand). It has a lower hardness level, typically around 5.5 on the Mohs scale, which makes it less resistant to scratches and thermal stress compared to borosilicate glass.
2. Heat Treatment Processes
Heat treatment can significantly alter the hardness of glass. Processes like tempering and annealing modify the internal structure of glass, enhancing its strength and resistance to mechanical stresses:
- Tempering: This process involves heating the glass and then rapidly cooling it. Tempered glass exhibits greater hardness and is more resistant to impacts and temperature changes. It is often used in situations where safety and durability are paramount.
- Annealing: Annealing involves slowly cooling hot glass to relieve internal stresses. While it doesn’t necessarily increase the hardness, it makes the glass more durable and less prone to spontaneous breakage.
3. Presence of Impurities
The presence of impurities in glass can affect its hardness. While some impurities might strengthen the glass, others can create weak points, reducing its overall hardness. The purity of raw materials used in glass production is therefore critical in determining the final hardness of the glass instruments.
4. Manufacturing Techniques
The methods used in the manufacturing of glass also play a role in its hardness. Advanced manufacturing techniques can produce glass with uniform composition and fewer defects, leading to increased hardness. Innovations in glassmaking technology continue to enhance the quality and hardness of glass instruments.
5. Type of Glass
Different types of glass, beyond the basic soda-lime and borosilicate varieties, offer varying levels of hardness:
- Lead Glass: Known for its optical qualities, lead glass has a relatively lower hardness, around 5 on the Mohs scale, due to its lead oxide content.
- Aluminosilicate Glass: This type of glass contains aluminum oxide and is known for its high resistance to scratches and thermal shock, making it harder than standard borosilicate glass.
The hardness of glass instruments is a multifaceted attribute influenced by various factors, including composition, heat treatment, impurities, and manufacturing techniques. Understanding these factors is essential for selecting the appropriate type of glassware for specific applications, ensuring both the efficiency and safety of laboratory and industrial operations. Advances in glass technology continue to refine these factors, leading to the development of even more robust and versatile glass instruments.
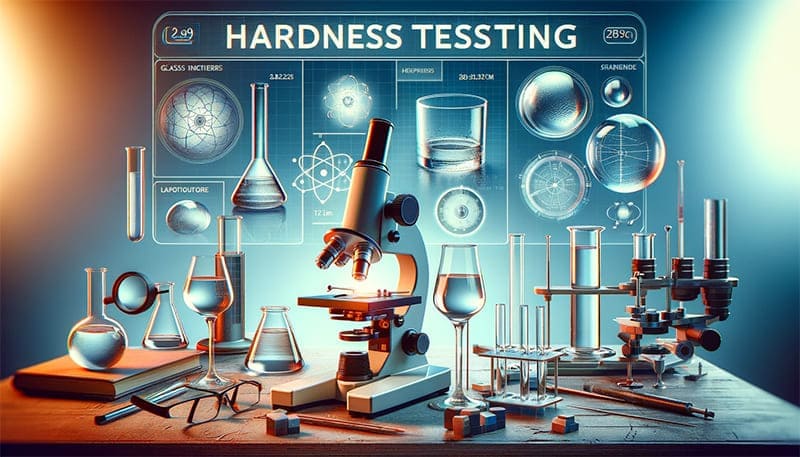
Hardness Testing in Quality Control
In the manufacturing of glass instruments, hardness testing plays a crucial role in quality control. It ensures that the glass meets the necessary standards and specifications for its intended use. This testing is an integral part of the production process, guaranteeing the reliability and safety of glass instruments.
Key Steps in Controlling Glass Hardness
1. Material Selection
- Choosing the Right Glass Type: The initial step involves selecting the appropriate type of glass. Borosilicate, soda-lime, or aluminosilicate glasses are chosen based on the required hardness and intended use of the instrument.
- Purity of Materials: Ensuring the purity of raw materials is crucial as impurities can significantly affect the hardness and overall quality of the glass.
2. Precise Manufacturing Process
- Controlled Melting: The melting process must be carefully controlled, as variations in temperature and composition can alter the hardness of the glass.
- Molding and Shaping: The methods and conditions under which the glass is molded and shaped also play a role in its final hardness.
3. Heat Treatment
- Annealing: Slow cooling of the glass, known as annealing, relieves internal stresses, contributing to a consistent hardness throughout the glassware.
- Tempering: For glass requiring higher hardness, tempering might be employed, which involves rapid cooling of the glass after it has been heated to a certain temperature.
Quality Control and Continuous Monitoring
Standardized Testing Protocols
- Establishing and adhering to standardized testing protocols ensures consistency and reliability in hardness measurements.
Regular Calibration
- Calibration of testing equipment is essential to maintain accuracy. This involves regularly checking and adjusting the equipment based on known hardness standards.
Data Analysis and Improvement
- Analyzing the results from hardness tests allows manufacturers to identify trends, make adjustments in the production process, and continuously improve the quality of the glassware.
Controlling and testing the hardness of laboratory glass instruments are critical aspects of their production. These processes ensure that the glassware meets the necessary standards and is fit for use in various scientific settings. By rigorously managing the production process and employing precise testing methods, manufacturers can guarantee the quality, safety, and reliability of their laboratory glass instruments.
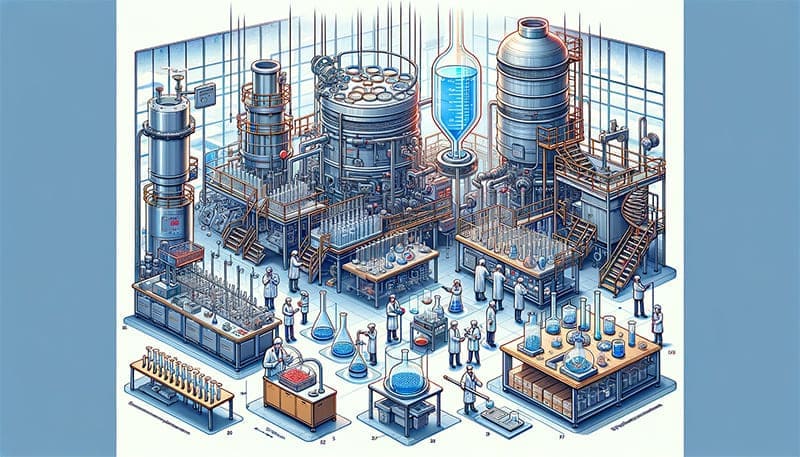
Tailoring Production Standards, Processes, and Post-Treatments for Specific Laboratory Glass Instrument Applications
When manufacturing laboratory glass instruments, the approach towards controlling glass hardness is not one-size-fits-all. Instead, it’s essential to tailor production standards, processes, and post-treatment methods according to the specific purposes these instruments will serve. This tailored approach ensures that each type of glassware not only achieves the required hardness but also meets the functional needs of its intended laboratory application.
1. Customizing Production Standards for Specific Applications
- Research and Development Needs: For glassware used in cutting-edge research, the standards might prioritize maximum hardness to resist chemical corrosion and thermal shock. Here, borosilicate or aluminosilicate glass would be preferred.
- Educational Laboratories: In educational settings, where durability is crucial but extreme conditions are less common, soda-lime glass with moderate hardness may suffice.
2. Adapting Manufacturing Processes for Varied Uses
- High Precision Experiments: For glassware used in high-precision experiments, the melting and shaping processes are finely controlled to ensure uniform hardness and minimal imperfections.
- Large Scale Production: In contrast, for glassware mass-produced for general laboratory use, the focus might be on efficient production while still maintaining acceptable hardness levels.
3. Post-Treatment Methods Aligned with Instrument Use
- Annealing for Standard Laboratory Glassware: Most standard laboratory glassware undergoes annealing, which is sufficient to provide a balanced hardness suitable for everyday laboratory tasks.
- Tempering for Specialized Instruments: For glassware designed for high-stress environments, such as high-pressure reaction chambers, tempering is employed to enhance the hardness and structural integrity.
4. Application-Specific Considerations
- Chemical Resistance: For glassware used in chemical analysis, the resistance to chemical etching is as crucial as physical hardness. Here, the choice of glass type and treatment methods are geared towards maximizing chemical durability.
- Thermal Resistance: In applications involving extreme temperatures, the focus is on producing glassware that not only maintains its hardness at high temperatures but also resists thermal shock.
In the production of laboratory glass instruments, controlling glass hardness is a nuanced process that requires careful consideration of the specific applications for which the glassware is intended. By customizing the production standards, manufacturing processes, and post-treatment methods, manufacturers can create glass instruments that not only meet the required hardness levels but are also perfectly suited to their intended uses in the laboratory. This tailored approach ensures the highest levels of efficiency, safety, and reliability in scientific experiments and processes.
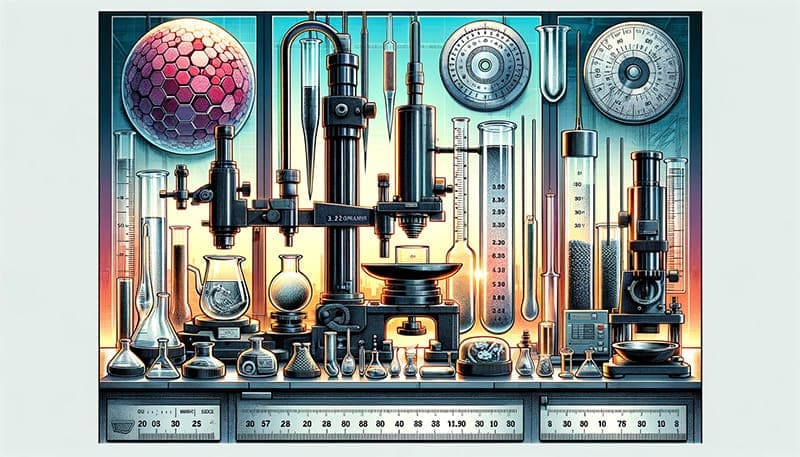
Methods for Measuring the Hardness of Glass Instruments
The hardness of glass instruments refers to their surface’s ability to resist indentation by another object. Hardness is a key physical property of glass instruments, indicating the ability of the glass surface to resist deformation. Several methods are used to measure the hardness of glass instruments, with the most common being Mohs hardness, Vickers hardness, Rockwell hardness, and Brinell hardness.
- Mohs Hardness Measurement
- Mohs hardness is one of the most common methods for measuring the hardness of glass. It is based on a scale established by Friedrich Mohs in 1812, which uses ten different minerals as reference materials. The hardness is determined by the depth of a scratch made by a diamond indenter on the glass surface. The scale ranges from talc (level 1) to diamond (level 10).
- The testing principle involves scratching the glass surface with a diamond indenter and determining the Mohs hardness based on the scratch depth. The glass sample is placed on a stage, and the diamond indenter of the hardness tester is used to make a scratch, from which the hardness level is assessed.
- Vickers Hardness Measurement
- The Vickers hardness measurement is another common method for glass hardness. It involves pressing a diamond indenter with a specific angle into the glass surface under a defined load. The Vickers hardness value is calculated based on the ratio of the indentation surface area to the applied load.
- During testing, the glass sample is placed on a stage, and the diamond indenter of the hardness tester is pressed into the surface under a specific load. The Vickers hardness value is determined from the area of the indentation and the load applied.
- Rockwell Hardness Measurement
- The Rockwell hardness measurement is based on pressing a diamond cone or steel ball into the glass surface and determining the hardness value from the depth of the indentation in relation to the original height. There are 15 Rockwell hardness levels, ranging from HRA to HRC, with HRA and HRB suitable for softer materials and HRC for harder ones.
- During testing, the glass sample is placed on a stage, and a diamond cone or steel ball indenter is pressed into the surface. The Rockwell hardness value is calculated from the indentation depth.
- Brinell Hardness Measurement
- The Brinell hardness measurement involves pressing a large-diameter steel or lead ball into the glass surface and determining the hardness value based on the ratio of the indentation area to the original surface area. The Brinell hardness value is not affected by the thickness of the sample.
- For testing, the glass sample is placed on a stage, and a steel ball indenter is pressed into the surface. The Brinell hardness value is calculated from the indentation area.
In summary, these methods can measure the hardness of glass. Mohs and Vickers hardness are among the most commonly used methods. It’s important to note that different types of glass may have different hardness values, and the thickness of the glass can also affect the accuracy of the hardness value. Therefore, the appropriate measurement method and standard should be chosen based on the specific circumstances of the glass being tested.
How to Test the Hardness of Your Glass Instruments
Testing the hardness of glass instruments can be done using any of the methods mentioned earlier. However, it’s important to note that these tests should be conducted by professionals as they require precision and specialized equipment.

Choosing the Right Glass Instrument Based on Hardness: Tailoring Selection for Different Laboratory Environments
Selecting the appropriate glass instruments for laboratory or industrial use requires careful consideration of their hardness. The hardness of the glass not only impacts its durability and resistance to damage but also determines its suitability for specific applications. Let’s delve into how to choose the right glassware for educational purposes, scientific research laboratories, and specialized experiments.
1. Selection for Educational Laboratory Use
- Moderate Hardness Requirement: In educational settings, such as high schools and undergraduate laboratories, glassware typically does not need to withstand extreme conditions. Here, soda-lime glass, with its moderate hardness, is often sufficient. It provides an adequate balance between resistance to scratches and cost-effectiveness.
- Safety and Durability: While high hardness is less of a priority, the chosen glass should still be durable enough to handle regular handling by students. Borosilicate glass can be a good choice for items that require more durability or will be exposed to moderate heat.
2. Glass Instruments for Scientific Research Laboratories
- Prioritizing High Hardness: In research laboratories where precision and resistance to chemical and thermal stress are paramount, selecting glass instruments with higher hardness, such as borosilicate or aluminosilicate glass, is essential. These materials resist scratches and thermal shocks, ensuring the integrity of sensitive experiments.
- Specific Glass Types for Specialized Research: For research involving extreme temperatures or harsh chemicals, specialized glasses like quartz glass or Vycor® might be more suitable due to their high hardness and superior resistance to thermal and chemical stresses.
3. Selecting Glass Instruments for Specialized Experiments
- Customized Hardness for Specific Requirements: Some experiments may require glassware with very specific hardness characteristics. For instance, experiments involving high-pressure reactions may benefit from tempered glass due to its increased strength and resistance to shattering.
- Adapting to Unique Experimental Conditions: In cases where the glassware needs to withstand abrasive materials, a higher Mohs hardness rating is crucial. Conversely, experiments requiring a degree of flexibility or shock absorption might be better served by glassware with a slightly lower hardness rating.
The selection of glass instruments based on hardness should be tailored to the specific requirements of the laboratory environment and the nature of the experiments being conducted. Whether for educational purposes, scientific research, or specialized experiments, understanding and considering the hardness of glass instruments is crucial in ensuring their effectiveness, safety, and longevity. By carefully selecting the appropriate type of glass, laboratories can optimize their operations and achieve accurate and reliable results in their various endeavors.
Conclusion
The hardness of glass instruments is a vital factor that significantly influences their functionality and longevity in various laboratory settings. From educational to cutting-edge scientific research, the appropriate selection of glassware based on hardness ensures not only the precision and safety of experiments but also contributes to the sustainability of laboratory operations. Understanding the nuances of glass hardness, from its measurement to its practical applications and the factors affecting it, empowers users to make informed decisions, enhancing the overall efficiency and effectiveness of scientific endeavors.


