Have you ever felt overwhelmed in a laboratory, surrounded by an array of glassware, unsure of their specific uses? Do you wonder how to maximize your efficiency and accuracy in the lab using these fundamental tools? Laboratory flasks, while common, play critical roles in various experiments and procedures.
In this guide, we’ll explore the world of laboratory flasks, detailing their types, uses, and best practices. Enhance your lab skills by understanding these essential instruments and how to use them effectively. This guide aims to provide you with the knowledge needed to confidently handle laboratory flasks in any experimental setting.
Why Are Laboratory Flasks Essential in Experiments?
Laboratory flasks are more than just glass containers. They are precision tools designed for specific purposes, such as mixing, heating, or storing chemical solutions. Types of flasks like Erlenmeyer, volumetric, and Florence flasks each serve unique roles. For instance, Erlenmeyer flasks are ideal for mixing solutions due to their conical shape, while volumetric flasks are used for preparing precise solution concentrations.
The Role of Laboratory Flasks in Modern Research
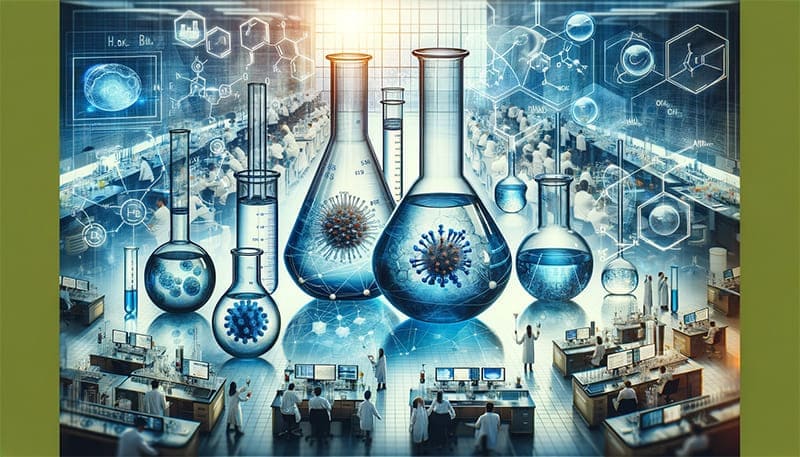
Laboratory flasks are indispensable in modern research, facilitating a wide range of scientific inquiries. From basic educational labs to advanced research in fields like biochemistry, pharmacology, and environmental science, these flasks play a crucial role. They help in maintaining the integrity of experimental procedures and ensuring the reliability of research outcomes.
Understanding the Differences in Flask Materials: Characteristics and Applications
When selecting laboratory flasks, one of the key considerations is the material they are made from. Different materials offer distinct advantages and limitations, particularly in terms of chemical resistance, temperature tolerance, and durability.
| Material | Characteristics | Applications | Chemical Resistance | Temperature Resistance | Considerations |
|---|---|---|---|---|---|
| Glass | – Resistant to thermal shock and chemical corrosion | – General chemical reactions – Solution preparation | High | Moderate to High | – Handle with care to avoid breakage – Not suitable for very high temperatures |
| Plastic | – Durable, shatter-resistant | – Biological sample storage – Less aggressive chemicals | Moderate | Low to Moderate | – Not suitable for organic solvents or high temperatures – Can absorb chemicals over time |
| Stainless Steel | – Robust, high temperature and pressure tolerance | – High-temperature reactions – Microbiological work | High (varies with specific chemicals) | High | – Can be heavy and costly – May corrode with certain chemicals |
| Quartz | – Exceptional high-temperature resistance and thermal shock | – High-temperature chemical reactions and analyses | High | Very High | – Expensive – Requires careful handling due to brittleness |
| PTFE (Teflon) | – High chemical resistance, non-stick surface | – Handling highly corrosive substances – Minimizing contamination | Very High | Moderate to High | – Not ideal for mechanical stress – Expensive compared to other materials |
The material of a laboratory flask greatly influences its suitability for different experimental conditions. Understanding these differences is key to selecting the right flask and ensuring the success and safety of your laboratory work. Whether it’s the versatile glass flask or the durable plastic variant, each has a role to play in the diverse world of scientific experimentation.
How to Choose the Right Flask for Your Experiment?
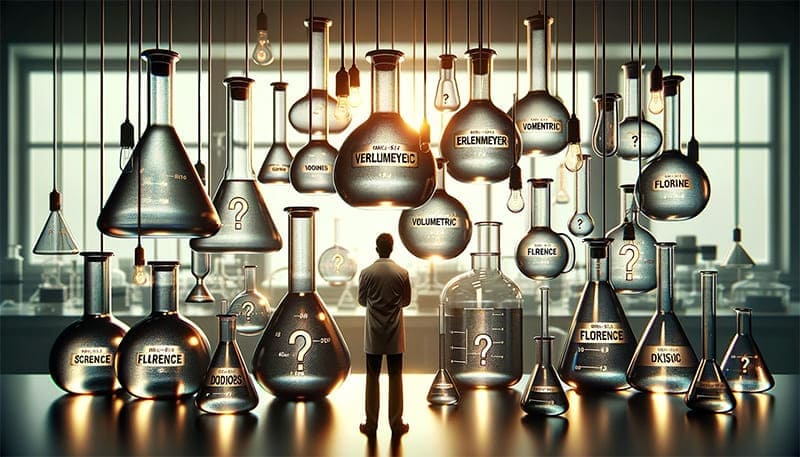
When choosing the right flask for your experiment, it’s essential to consider several key factors to ensure the best fit for your specific needs. Here’s a breakdown of these considerations and how they guide your selection:
- Purpose of the Experiment:
- Mixing and Reacting: If your experiment involves mixing chemicals or conducting reactions, a glass flask, such as an Erlenmeyer flask, is often suitable due to its wide base and narrow neck, which is ideal for swirling and minimizing spillage.
- Precision Measurements: For experiments requiring precise measurements, a volumetric flask made of glass is recommended. Its narrow neck and calibration mark allow for accurate solution preparation.
- Temperature Requirements:
- High-Temperature Experiments: If the experiment involves heating, borosilicate glass flasks are preferable due to their resistance to thermal shock. For extremely high temperatures, quartz flasks may be necessary.
- Room Temperature or Low-Temperature Work: Plastic flasks can be used for room temperature or low-temperature applications, especially if the risk of breakage is a concern.
- Chemical Compatibility:
- Corrosive Chemicals: For highly corrosive chemicals, consider PTFE (Teflon) flasks for their excellent chemical resistance.
- General Chemical Use: Borosilicate glass is generally resistant to a wide range of chemicals and is suitable for most standard laboratory applications.
- Durability and Safety Concerns:
- High Risk of Breakage: In settings where breakage is a significant concern (such as in educational labs), plastic flasks offer greater durability and safety.
- Sterilization Needs: For experiments requiring sterilization, stainless steel flasks are ideal due to their ability to withstand high temperatures and pressures.
- Budget and Availability:
- Consider the cost and availability of the flasks. Glass flasks are generally more affordable and widely available, while specialized materials like quartz and PTFE may be more expensive and harder to source.
Selecting the right flask involves a careful assessment of the experiment’s requirements, including the nature of the chemicals, temperature conditions, precision needs, durability considerations, and budget constraints. By taking these factors into account, you can choose the most suitable flask that ensures both the accuracy and safety of your laboratory work.
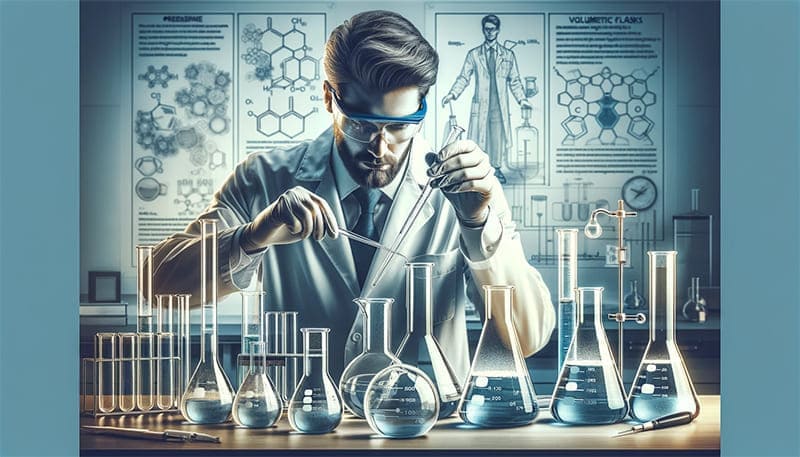
Best Practices in Using Laboratory Flasks
In order to ensure accuracy and safety in the laboratory, it is important to follow best practices when using laboratory flasks. Here are examples of different experiments and the correct steps for using flasks in each scenario:
Experiment 1: Preparing a Standard Solution in a Volumetric Flask
- Cleaning: Thoroughly clean the volumetric flask, especially if it’s being used for the first time or after a different experiment.
- Filling: Add the solute (e.g., a solid compound) to the flask. Begin by adding a small amount of solvent to dissolve the solute.
- Dissolving: Swirl the flask gently to help dissolve the solute without causing spills.
- Diluting: Carefully add more solvent up to the calibration mark. Avoid overfilling; use a dropper for the last few drops to ensure precision.
- Mixing: Cap the flask and invert it several times to ensure a homogeneous mixture.
Experiment 2: Conducting a Chemical Reaction in an Erlenmeyer Flask
- Inspection: Check the flask for any cracks or damage before use.
- Adding Reactants: Add the reactants to the flask. Start with liquids, then carefully add solids if required.
- Mixing: Swirl the flask gently to mix the reactants. The conical shape of the Erlenmeyer flask minimizes the risk of spillage during mixing.
- Heating (if required): If the reaction requires heating, use a water bath or heating mantle. Avoid direct flame to prevent thermal stress on the glass.
Experiment 3: Heating a Liquid in a Florence Flask
- Checking Flask Integrity: Ensure the flask is free from cracks or weak points.
- Adding Liquid: Pour the liquid into the flask, filling it no more than halfway to allow space for bubbling or boiling.
- Heating: Place the flask on a heating mantle or in a water bath. Avoid using a Bunsen burner directly, as this can cause uneven heating and risk of breakage.
- Monitoring: Watch the liquid closely as it heats, adjusting the temperature as needed.
Experiment 4: Storing Chemicals in a Round-Bottom Flask
- Selecting the Right Flask: Choose a flask with an appropriate volume and material based on the chemical to be stored.
- Filling: Transfer the chemical into the flask. For volatile or hazardous chemicals, perform this step in a fume hood.
- Sealing: Seal the flask with a stopper or appropriate closure. Ensure the seal is tight to prevent leakage or contamination.
- Labeling: Clearly label the flask with the contents and the date of storage.
General Tips:
- Regular Calibration: Regularly calibrate volumetric flasks, especially when used for quantitative analysis.
- Avoid Sudden Temperature Changes: Gradually heat or cool flasks to prevent thermal shock.
- Proper Cleaning: After each experiment, clean the flasks thoroughly to avoid cross-contamination in subsequent experiments.
- Safe Handling: Always hold flasks from the base or neck, and use clamps or tongs for hot flasks.
By following these specific steps and general best practices, you can ensure that you use laboratory flasks effectively and safely in a variety of experimental contexts.
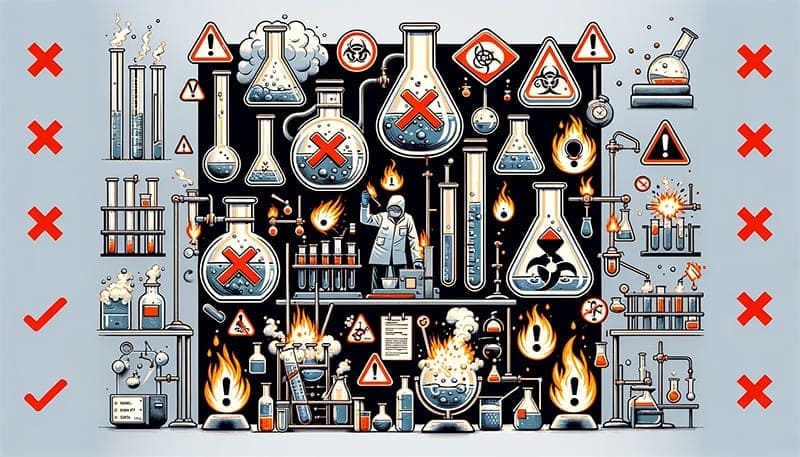
Common Mistakes to Avoid with Laboratory Flasks
To ensure safety and accuracy in the laboratory, it’s important to be aware of common mistakes made with laboratory flasks and know how to avoid them. Here are some typical errors, along with preventive measures and improvement methods:
Common Mistake 1: Using the Wrong Type of Flask
- Prevention: Familiarize yourself with different types of flasks and their specific uses. For example, use Erlenmeyer flasks for mixing and volumetric flasks for precise measurements.
- Improvement: If a wrong flask type was used, repeat the experiment with the correct flask to ensure accurate results.
Common Mistake 2: Overfilling Volumetric Flasks
- Prevention: Fill the flask to just below the calibration line, then add the last few drops carefully with a dropper or pipette for precision.
- Improvement: If overfilling occurs, empty the flask and start the measurement process again to ensure accuracy.
Common Mistake 3: Subjecting Glass Flasks to Sudden Temperature Changes
- Prevention: Gradually heat or cool glass flasks. Use a water bath or heating mantle for heating to distribute the temperature evenly.
- Improvement: If a flask breaks due to thermal shock, carefully clean up the debris following safety protocols and repeat the experiment with a new flask, adjusting the temperature more gradually.
Common Mistake 4: Improper Cleaning of Flasks
- Prevention: Clean flasks thoroughly after each use, using appropriate cleaning agents and techniques for different types of residues.
- Improvement: If contamination occurs due to improper cleaning, clean the flask again following a more rigorous protocol, possibly using specialized cleaning agents.
Common Mistake 5: Not Calibrating Volumetric Flasks
- Prevention: Regularly calibrate volumetric flasks to ensure measurement accuracy, especially in quantitative experiments.
- Improvement: If inaccurate measurements are suspected due to calibration issues, recalibrate the flask or use a certified calibrated flask for the experiment.
Common Mistake 6: Mishandling or Dropping Flasks
- Prevention: Always handle flasks carefully. Use both hands when carrying larger flasks and ensure a secure grip.
- Improvement: If a flask is dropped and breaks, safely clean up the spill, dispose of the broken glass properly, and repeat the procedure with a new flask.
Common Mistake 7: Using Flasks with Chips or Cracks
- Prevention: Routinely inspect flasks for any damage before use.
- Improvement: If a damaged flask is used inadvertently, replace it immediately upon noticing the defect to prevent accidents or contamination.
By being mindful of these common mistakes and adhering to the preventive measures, you can enhance the safety and accuracy of your work in the laboratory. Continuous learning and adherence to best practices are key to improving your handling and usage of laboratory flasks.
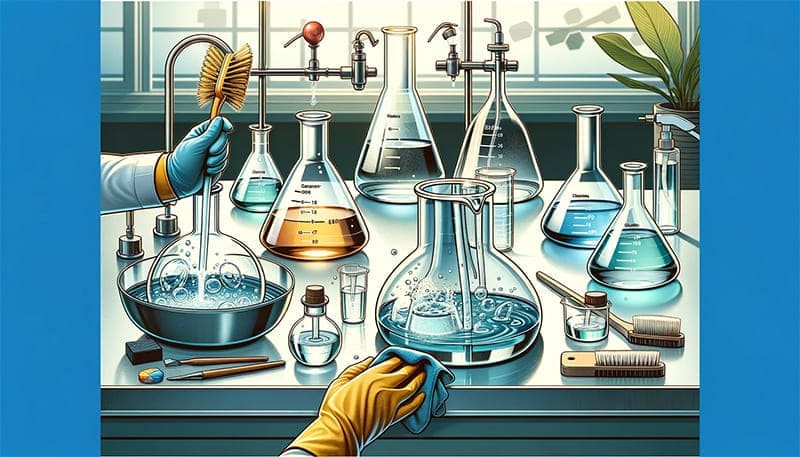
Cleaning and Maintenance of Laboratory Flasks
To maintain the integrity and extend the life of laboratory flasks, it’s essential to follow a standardized procedure for cleaning and storage. Here are the steps for effective cleaning and maintenance:
Cleaning Process
- Initial Rinse: Immediately after use, rinse the flask with distilled water to remove any residual chemicals. This step helps prevent the formation of stubborn residues.
- Application of Cleaning Agents:
- For general cleaning, use a mild detergent and warm water.
- For organic residues, a solvent like acetone or ethanol may be necessary.
- For inorganic or mineral deposits, use an acid wash (e.g., dilute hydrochloric acid), but only if safe for the type of flask material.
- Scrubbing: For stubborn residues, use a brush specifically designed for flasks. Brushes with soft bristles are preferable to avoid scratching the glass.
- Thorough Rinsing: Rinse the flask several times with distilled water to ensure all traces of detergents and chemicals are removed.
- Drying: Invert the flask on a drying rack to air dry. Ensure it is completely dry before storing to prevent microbial growth or water spots.
Maintenance and Storage
- Regular Inspection: Periodically inspect flasks for chips, cracks, or other signs of wear. Damaged flasks should be discarded to avoid accidents.
- Proper Storage:
- Store flasks in a safe, dry place, such as a secured cabinet or on a stable shelf.
- Avoid stacking flasks, especially if they are made of glass, to prevent breakage.
- Use a flask stand or holder for larger flasks to ensure stability.
- Calibration Checks: For volumetric flasks, regularly check calibration, especially if the flask is used frequently or for precise measurements.
- Environmental Control: Ensure that the storage area is not exposed to extreme temperatures or direct sunlight, as this can affect the flask’s integrity.
- Inventory Management: Keep an inventory log, especially for laboratories with a large number of flasks. This helps in tracking usage and planning for replacements.
By adhering to these cleaning and maintenance procedures, laboratory flasks can be kept in optimal condition, ensuring accurate and safe use in various experimental procedures. Regular care and attention to detail are key in maintaining the quality and reliability of these essential laboratory tools.

Advanced Techniques and Tips
To elevate your laboratory skills, mastering advanced techniques involving laboratory flasks is crucial. Here are some high-level skills and tips for proficient use of laboratory flasks:
Mastering Serial Dilutions in Volumetric Flasks
- Understanding Concentration Ratios: Know how to calculate dilution factors to achieve the desired concentration.
- Accurate Pipetting: Use precision pipettes for transferring exact volumes during each step of the dilution.
- Consistency in Mixing: Ensure thorough mixing after each dilution step to achieve uniform concentration.
Refluxing Technique in Round-Bottom Flasks
- Proper Setup: Set up a reflux condenser on top of the flask to prevent the loss of volatile components during heating.
- Temperature Control: Maintain a consistent temperature that’s high enough to sustain the reflux but not so high as to cause vigorous boiling or evaporation.
- Monitoring the Process: Regularly check the reflux process, ensuring the condensate is dripping back into the flask.
Precision Pouring Skills
- Steady Hand Control: Develop a steady and controlled pouring technique to prevent spills and ensure accuracy.
- Use of Funnels: Utilize funnels for transferring liquids into narrow-mouthed flasks, enhancing precision and reducing spillage.
Accurate Reading of Meniscus Levels
- Eye Level Measurement: Ensure the flask is at eye level when reading the meniscus to avoid parallax errors.
- Consistent Reading: Read the bottom of the meniscus for clear liquids and the top for colored solutions, maintaining consistency in measurement.
Advanced Mixing Techniques
- Swirl, Don’t Shake: Learn to gently swirl the flask to mix solutions, especially when dealing with volatile or hazardous chemicals.
- Using Magnetic Stirrers: For homogeneous mixing, use a magnetic stirrer, particularly in larger flasks where manual swirling might be less effective.
Handling of Reactive or Sensitive Solutions
- Inert Atmosphere Techniques: When working with air-sensitive solutions, practice techniques such as purging the flask with inert gas (like nitrogen or argon).
- Cold Traps and Dry Ice: Use cold traps or dry ice baths when handling extremely reactive or low-boiling-point substances.
Enhanced Cleaning Techniques for Stubborn Residues
- Specialized Cleaning Agents: Use specific cleaning agents for different types of residues, such as chromic acid for organic residues (with proper safety precautions).
- Ultrasonic Cleaners: For very stubborn residues, an ultrasonic cleaner can be effective in removing deposits from flask surfaces.
By mastering these advanced techniques and tips, you can significantly improve the precision, efficiency, and safety of your work with laboratory flasks. These skills are essential for conducting complex experiments and achieving reliable and reproducible results in the laboratory.
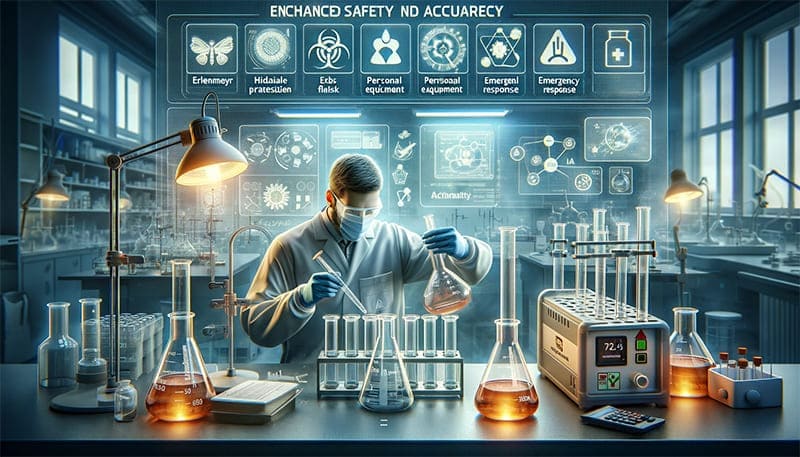
Enhancing Safety and Accuracy in Flask Usage
To enhance both safety and accuracy in the use of laboratory flasks, it is essential to follow best practices and remain vigilant. Here are additional tips to ensure safe handling and precise measurements:
Safety Tips for Flask Usage
- Understanding Chemical Properties: Before starting an experiment, familiarize yourself with the chemical properties of the substances you will be using. This knowledge is crucial for handling them safely.
- Proper Ventilation: Always work in a well-ventilated area, especially when dealing with volatile organic compounds. Use a fume hood whenever possible to avoid inhalation of harmful vapors.
- Avoiding Cross-Contamination: Use separate flasks for different chemicals to prevent cross-contamination. This is particularly important when dealing with reactive or hazardous substances.
- Handling Hot Flasks: Use tongs or heat-resistant gloves when handling flasks that have been heated. Allow hot flasks to cool down before cleaning or storing them.
- Emergency Preparedness: Know the location of safety equipment like fire extinguishers, eye wash stations, and first aid kits. Familiarize yourself with the proper procedures in case of a chemical spill or other laboratory accidents.
Accuracy Tips for Flask Usage
- Calibration of Equipment: Regularly calibrate measuring devices, including pipettes and burettes, to ensure accuracy in transferring liquids into flasks.
- Minimizing Measurement Errors: When measuring liquids, ensure the flask is on a flat, stable surface to avoid inaccuracies. Read the meniscus at eye level and use consistent methods for measuring different types of liquids.
- Temperature Considerations: Be aware that the volume of liquids can change with temperature. Conduct measurements at a consistent temperature, ideally at room temperature, for accurate results.
- Preventing Evaporation: When working with volatile liquids, work swiftly to minimize evaporation, which can affect concentration levels.
- Recording Data: Accurately and promptly record all measurements and observations. This practice is vital for data integrity and for tracking any potential errors in the experiment.
By incorporating these safety and accuracy tips into your laboratory routine, you can significantly reduce the risk of accidents and ensure the reliability of your experimental data. Safety and precision are both critical elements in achieving successful outcomes in laboratory work.
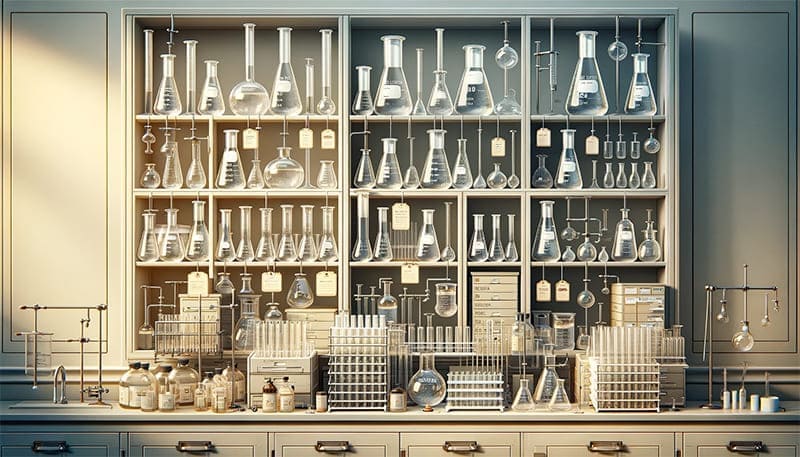
How to Properly Store Laboratory Flasks?
Proper storage of laboratory flasks is crucial to maintain their condition and ensure safety in the lab. Here is a standardized operational procedure for storing laboratory flasks:
Standard Operating Procedure for Storing Laboratory Flasks
- Cleaning Before Storage:
- Ensure that all flasks are thoroughly cleaned and dried before storage. This prevents contamination and degradation of the flask material.
- Inspection for Damage:
- Inspect each flask for any signs of damage, such as cracks, chips, or scratches. Damaged flasks should be safely disposed of to avoid potential hazards.
- Labeling:
- Label any flasks containing solutions with the contents, concentration, date of preparation, and the name of the person who prepared it. This is important for safety and tracking purposes.
- Choosing the Right Storage Location:
- Store flasks in a designated, stable area that is free from clutter.
- Ensure the storage area is not exposed to direct sunlight, extreme temperatures, or moisture, as these conditions can affect the flasks’ integrity.
- Positioning Flasks Correctly:
- Store flasks upright to prevent them from tipping over. This is especially important for flasks containing solutions.
- For empty flasks, they can also be stored in an inverted position to prevent dust accumulation.
- Using Appropriate Shelving or Cabinets:
- Use sturdy shelving or cabinets designed for laboratory storage. Ensure that the shelves are level and secure.
- Heavier flasks should be stored on lower shelves to reduce the risk of injury if they are dropped.
- Separating Different Types of Flasks:
- Separate glass flasks from plastic or metal ones to prevent damage. Glass flasks should be handled with extra care to avoid breakage.
- Storing Large Flasks:
- For larger flasks, use appropriate supports or flask stands to maintain stability and prevent them from rolling or tipping over.
- Regular Maintenance of Storage Area:
- Regularly clean and maintain the storage area to keep it organized and safe.
- Periodically re-evaluate the storage setup to accommodate new flasks or changes in the lab’s requirements.
- Accessibility and Safety:
- Ensure that all flasks are easily accessible and not overcrowded. This minimizes the risk of accidents when removing or returning flasks to the storage area.
By following these steps, laboratory flasks can be stored properly, thereby maintaining their quality and extending their lifespan. Proper storage also contributes to a safer and more efficient laboratory environment.
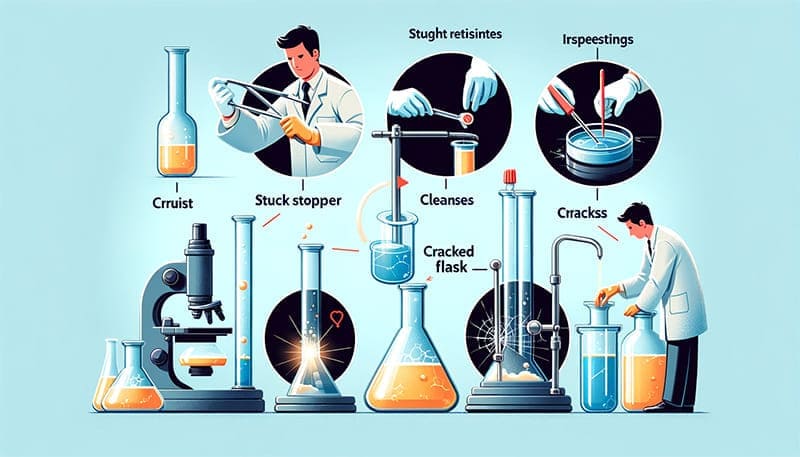
Troubleshooting Common Issues with Laboratory Flasks
When working with laboratory flasks, certain common issues can arise even with meticulous care. Here’s a list of these issues along with effective troubleshooting methods:
Common Issue 1: Stuck Stoppers or Lids
- Solution: Apply gentle heat around the stopper using a warm water bath or a hair dryer set on a low heat setting. Once slightly heated, gently twist or wiggle the stopper to remove it. If the stopper is made of glass, lubricate the joint with a small amount of silicone grease in the future to prevent sticking.
Common Issue 2: Tough Residues Inside Flasks
- Solution: Soak the flask in a cleaning solution appropriate for the type of residue. For organic residues, use solvents like acetone or ethanol. For inorganic deposits, diluted acids may be effective. Ultrasonic cleaners can also be used for stubborn residues. For safety, always ensure the cleaning agent is compatible with the flask material.
Common Issue 3: Cracks or Chips in Glass Flasks
- Solution: Inspect flasks regularly for any signs of damage. If minor cracks or chips are found, it’s safest to dispose of the flask to avoid potential breakage during an experiment. Never use a damaged flask for experiments, as it poses a significant safety risk.
Common Issue 4: Flask Discoloration
- Solution: Discoloration often results from chemical reactions or residue buildup. If the discoloration doesn’t compromise the integrity of the flask, it can sometimes be ignored. However, if the flask needs to be clear for accurate measurements, try soaking in a mild bleach solution or using a professional glassware cleaning agent.
Common Issue 5: Difficulty in Reading Graduations
- Solution: Clean the exterior of the flask with alcohol wipes to remove any dirt or smudges that may obscure the graduations. If graduations continue to fade or become illegible, consider replacing the flask, as accurate measurements are crucial in many experiments.
Common Issue 6: Odor Retention in Plastic Flasks
- Solution: Soak the flask in a mixture of baking soda and water, or use a mild detergent solution. For persistent odors, filling the flask with a dilute vinegar solution and letting it sit overnight can be effective.
Common Issue 7: Contamination Concerns
- Solution: If cross-contamination is suspected, thoroughly clean and sterilize the flask. For sensitive experiments, using single-use or dedicated flasks can prevent this issue.
By addressing these common issues promptly and effectively, you can maintain the functionality and extend the lifespan of your laboratory flasks. Always prioritize safety and accuracy when dealing with any of these problems.
The Art of Flask Handling: Tips for Beginners
For beginners, handling laboratory flasks can be daunting. Start with understanding the purpose of each type of flask. Practice measuring liquids accurately and learn to read the meniscus at eye level. Familiarize yourself with the proper cleaning methods for different types of residues. Remember, practice and patience are key to developing proficient flask handling skills.
Collaborating with Suppliers for Custom Flask Solutions
Sometimes, specific experiments require customized flasks. Collaborating with suppliers can result in tailor-made solutions that fit unique research needs. This could involve flasks with special coatings, unusual shapes, or specific volume capacities. Such collaborations also encourage suppliers to innovate and expand their product ranges.
Customized laboratory flasks tailored to specific experimental needs can significantly enhance research outcomes. Collaborating with suppliers to create these specialized flasks allows for a more precise and efficient research process. Here are some applications and benefits of using custom flask solutions:
Applications of Custom Laboratory Flasks
- Flasks with Special Coatings:
- Anti-corrosive Coatings: Ideal for experiments involving highly corrosive substances, these coatings protect the flask and extend its lifespan.
- Non-stick Coatings: Useful in biochemistry and pharmacology for working with sticky or viscous substances, facilitating easier cleaning and sample recovery.
- Unusual Shapes and Designs:
- Custom Shapes for Specific Reactions: Some chemical reactions or processes may benefit from a flask with a unique shape to promote efficient mixing, heat distribution, or gas exchange.
- Compact Designs for Limited Space: In environments where space is a constraint, like in glove boxes or small fume hoods, flasks with compact designs are advantageous.
- Specific Volume Capacities:
- High-Precision Experiments: Certain experiments require flasks with very specific volume capacities not available in standard flask ranges. Custom volumetric flasks can be made to these precise measurements.
- Integrated Measurement Tools:
- Flasks with Built-in Sensors: For experiments requiring continuous monitoring of parameters like pH, temperature, or pressure, flasks can be customized with integrated sensors and data logging capabilities.
- Flasks for Extreme Conditions:
- High-Pressure Resistant Flasks: Customized flasks can be designed to withstand high pressures, essential for certain types of chemical reactions or material synthesis processes.
- High-Temperature Resistant Flasks: Flasks made from specialized materials capable of withstanding extremely high temperatures are crucial for certain thermally intensive processes.
- Bioreactors and Fermentation Flasks:
- Custom Bioreactors: For specialized cultivation of microorganisms or cell cultures, flasks can be modified with features like spargers, baffles, or ports for sampling and gas exchange.
Benefits of Collaborating with Suppliers
- Innovation and Expansion: Collaboration encourages suppliers to innovate, leading to the development of new materials and designs that can benefit a wide range of research fields.
- Tailored Solutions: Researchers can obtain flasks that precisely meet their experimental requirements, improving the accuracy and efficiency of their work.
- Feedback Loop: Continuous feedback between researchers and suppliers leads to improvements and refinements in flask design and functionality.
By utilizing custom flask solutions, researchers can overcome limitations of standard labware and push the boundaries of their experimental capabilities. These specialized flasks not only cater to unique research needs but also drive innovation in laboratory equipment design and manufacturing.
Innovations in Flask Design and Material
The field of laboratory equipment is continuously evolving, with new materials and designs emerging. Recent innovations include flasks made from more durable materials like reinforced glass or advanced plastics, offering greater resistance to thermal shock and chemical reactions. Some flasks now come with built-in features like graduations for easier measurement or coatings that reduce chemical adhesion.
Embracing Environmental Responsibility with Laboratory Flasks
In today’s environmentally conscious world, it’s important to consider the environmental impact of laboratory practices. Choosing reusable glass flasks over disposable alternatives is a step towards sustainability. Additionally, proper disposal and recycling of damaged or old flasks minimize environmental harm. Laboratories are increasingly adopting green chemistry principles, which include reducing chemical waste and promoting the use of environmentally friendly materials in flasks.
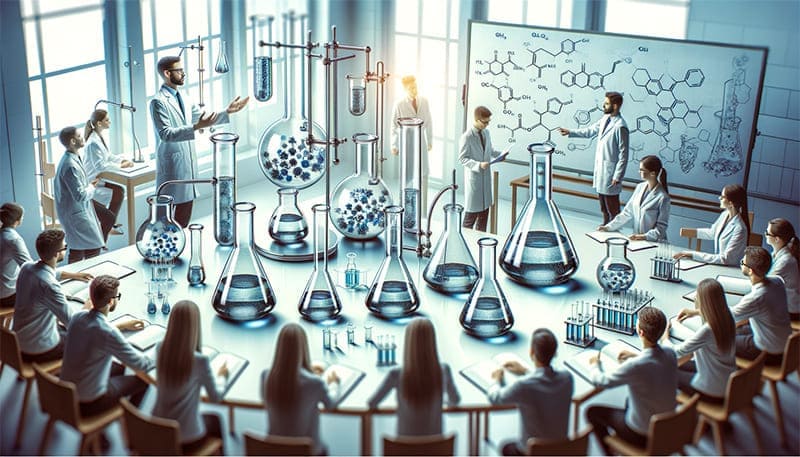
Educational Importance of Laboratory Flasks
In educational settings, laboratory flasks are not just tools for conducting experiments; they are instruments of learning. They help students understand basic principles of chemistry and biology, such as solution preparation, chemical reactions, and measurement accuracy. Proper training in using and handling these flasks is essential in fostering a new generation of scientists and researchers.
The Ethical Considerations in Flask Usage
Ethical considerations in laboratory work extend to the use of flasks. This includes ensuring that experiments do not harm the environment, avoiding the wastage of materials, and ensuring that all experiments are conducted with integrity and honesty. Proper labeling and documentation associated with flask usage are also part of ethical laboratory practices.
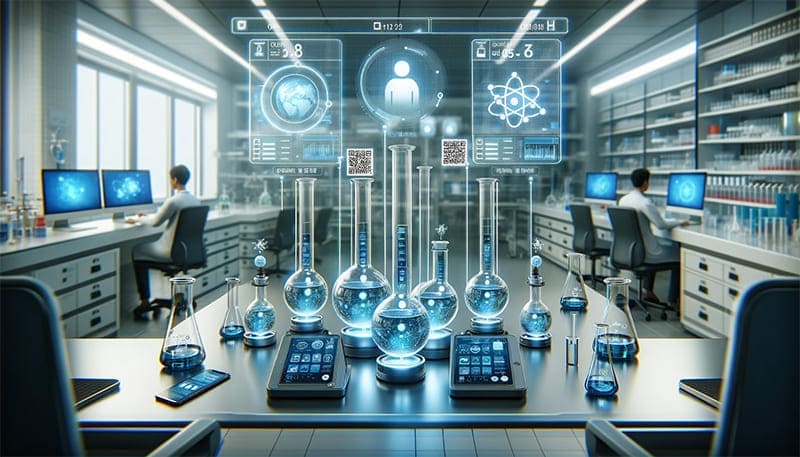
Integrating Technology with Laboratory Flasks
The integration of digital technology in laboratory equipment marks a significant advancement. Smart flasks equipped with RFID tags for tracking and inventory management, or flasks with QR codes providing digital calibration certificates, are becoming more common. These technologies enhance the traceability and accountability of experiments, crucial in high-stakes research environments.
The Future of Laboratory Flasks
Looking forward, we can anticipate further advancements in flask technology. This might include the integration of smart technology, such as flasks with embedded sensors for real-time monitoring of chemical reactions. Such innovations could revolutionize how experiments are conducted, making them more efficient, accurate, and safer.
Conclusion
In conclusion, “Elevate Your Lab Skills: The Definitive Guide to Using Laboratory Flasks” serves as an invaluable resource for anyone looking to deepen their understanding and improve their proficiency in using laboratory flasks. Whether you’re a student, researcher, or lab professional, this guide offers the insights and practical tips you need to excel in your scientific endeavors. For further information and resources, visit our website and elevate your laboratory skills to new heights today!


